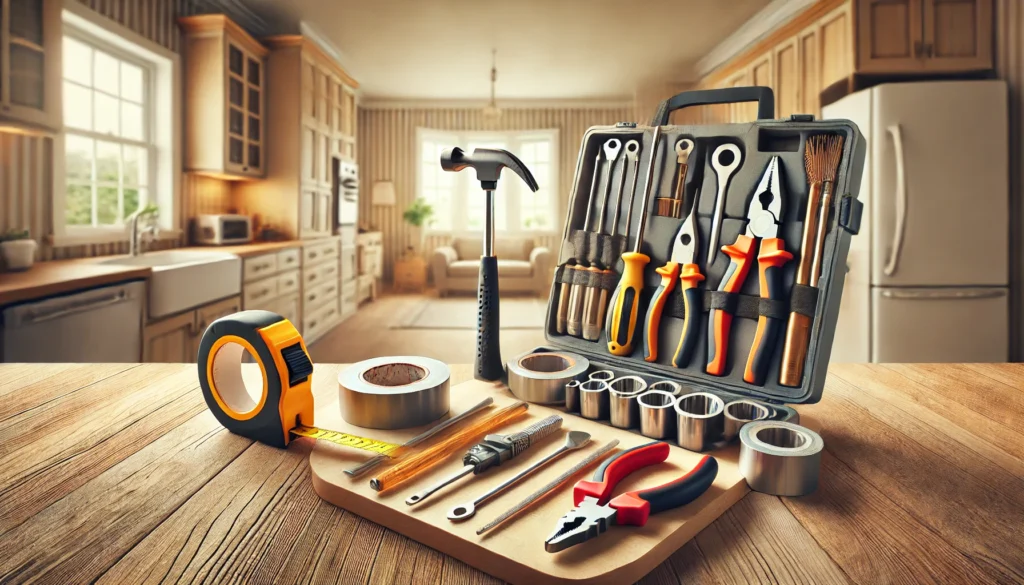
Essential Tools for Fixing Common Household Issues

Having the right tools on hand can make all the difference when dealing with everyday household problems. Whether it’s a leaky pipe, a squeaky door, or a loose fitting, a well-stocked toolkit ensures you’re prepared to handle minor repairs without delay. Here’s a list of must-have tools that every homeowner should consider.
1. Screwdrivers (Flathead and Phillips)
Screwdrivers are indispensable for tightening loose screws, assembling furniture, or opening electrical panels. Opt for a set with various sizes to cover a wide range of tasks.
Use Cases:
- Fixing loose cabinet handles.
- Tightening wobbly furniture.
- Adjusting door hinges.
2. Adjustable Wrench
An adjustable wrench is perfect for tackling plumbing tasks or loosening nuts and bolts. Its versatility makes it a must-have for dealing with leaks or installing fixtures.
Use Cases:
- Tightening or loosening pipe fittings.
- Adjusting nuts on furniture.
- Fixing leaky taps.
3. Plunger
Every household should have a plunger to handle clogged sinks, toilets, and drains. Choose one with a durable rubber head for effective suction.
Use Cases:
- Unblocking toilets.
- Clearing clogged kitchen sinks.
- Fixing slow-draining showers.
4. Hammer
A classic claw hammer is essential for driving nails into walls or pulling them out when needed. Look for one with a comfortable grip for ease of use.
Use Cases:
- Hanging picture frames.
- Repairing loose floorboards.
- Small carpentry tasks.
5. Utility Knife
A utility knife is great for cutting materials like cardboard, carpet, or plastic. Ensure it has a retractable blade for safety.
Use Cases:
- Trimming excess wallpaper.
- Opening sealed packages.
- Cutting insulation materials.
6. Tape Measure
Accurate measurements are key for many DIY tasks, from installing shelves to fitting furniture. A tape measure with both metric and imperial units is ideal.
Use Cases:
- Measuring space for new furniture.
- Marking drill points for shelves.
- Checking dimensions for home projects.
7. Pliers (Needle-Nose and Regular)
Pliers help grip, twist, or cut materials like wires and small metal pieces. Needle-nose pliers are ideal for precise work, while regular pliers handle sturdier tasks.
Use Cases:
- Bending electrical wires.
- Removing nails or staples.
- Gripping small objects.
8. Spirit Level
A spirit level ensures that shelves, frames, or furniture are perfectly aligned. It’s an essential tool for achieving professional-looking results.
Use Cases:
- Hanging pictures.
- Installing curtain rods.
- Levelling shelves.
9. Duct Tape
Duct tape is a quick fix for temporary repairs. Its strong adhesive properties make it suitable for sealing leaks or holding items in place.
Use Cases:
- Fixing cracked hoses.
- Securing loose cables.
- Emergency patching for leaks.
10. Allen Key Set
Allen keys, or hex keys, are often required for assembling flat-pack furniture or tightening screws in appliances. A complete set ensures you’ll have the right size for any job.
Use Cases:
- Building furniture.
- Adjusting bike parts.
- Fixing office chairs.
Be Ready for Any Repair
Equipping your home with these essential tools ensures you’re ready to tackle common household issues efficiently. Whether it’s a minor leak or a loose fitting, having the right tool at your fingertips saves time, money, and stress. Start building your toolkit today to keep your home in top shape!
How Long Does a Radiator Take to Bleed? Step-by-Step Instructions
Bleeding a radiator is a simple maintenance task that can improve your home’s heating efficiency. If your radiators are cold at the top or making strange noises, trapped air might be the problem. Here’s how to bleed a radiator and how long you can expect it to take.
What You’ll Need
- A radiator key (or flathead screwdriver for modern models).
- A cloth or small towel.
- A container to catch water drips.
Step 1: Turn Off the Heating
Before starting, ensure your central heating system is turned off and has cooled down. This prevents hot water from spilling out and protects you from burns.
Time: 5 minutes to allow cooling.
Step 2: Locate the Bleed Valve
Find the bleed valve on your radiator. This is usually a small square or round valve at the top corner of the radiator.
Time: 1 minute.
Step 3: Position Your Tools
Hold the cloth under the bleed valve to catch any escaping water. Insert the radiator key or screwdriver into the valve.
Time: 1 minute.
Step 4: Open the Valve
Turn the bleed valve anticlockwise slowly. You’ll hear a hissing sound as trapped air escapes. When water begins to trickle out steadily, close the valve by turning it clockwise.
Time: 1–2 minutes per radiator.
Step 5: Check the Boiler Pressure
After bleeding all necessary radiators, check your boiler pressure. If the pressure is too low, you’ll need to top it up according to the manufacturer’s instructions.
Time: 2–3 minutes.
Total Time for Bleeding a Radiator
Bleeding one radiator typically takes about 10 minutes, depending on its size and how much air is trapped. For multiple radiators, allocate additional time.
Optimising Your Heating System
Bleeding your radiators once or twice a year can enhance the efficiency of your heating system, saving energy and reducing your utility bills. Regular maintenance ensures your home stays warm and comfortable throughout the colder months.
Start today and enjoy a cosy, efficient home!
4o