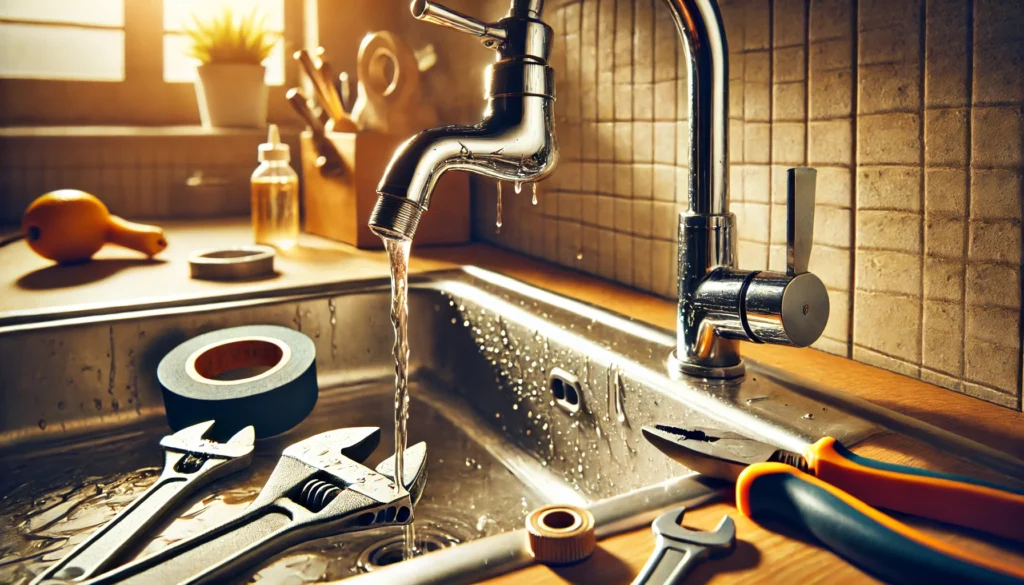
Common Causes of Leaking Taps and How to Fix Them

A dripping tap is not just an annoyance—it can waste litres of water and increase your utility bills over time. Fortunately, most leaking taps are easy to fix with a bit of knowledge and the right tools. This guide explores the common causes of leaking taps and provides step-by-step instructions to help you repair them effectively.
Why Do Taps Leak?
Understanding the underlying causes of a leaking tap is the first step to fixing it. Here are the most common culprits:
- Worn-Out Washer: Over time, the rubber or silicone washer that seals the tap can degrade, leading to drips.
- Damaged O-Ring: The O-ring, a small rubber ring in the tap handle, can wear out and cause leaks at the base of the tap.
- Faulty Cartridge: Mixer taps with ceramic cartridges may leak if the cartridge is damaged or clogged.
- Loose Parts: Screws, nuts, or other components inside the tap can loosen with regular use, leading to drips.
- Limescale Build-Up: Hard water deposits can damage internal components and prevent a proper seal.
Tools You’ll Need for Repairs
- Adjustable wrench or spanner
- Screwdrivers (flathead and Phillips)
- Replacement parts (washer, O-ring, or cartridge)
- Plumbing tape
- Cloth or towel
- Bowl or bucket to catch water
Step-by-Step Guide to Fixing a Leaking Tap
1. Turn Off the Water Supply
Before beginning any repair, shut off the water supply to the tap. This is usually done via the isolation valve under the sink. Turn the tap on to release any remaining water in the pipes.
Tip: Place a towel or bucket under the sink to catch any residual drips.
2. Identify the Type of Tap
Understanding the type of tap you’re working with helps you identify the likely cause of the leak:
- Compression Tap: Traditional taps with separate handles for hot and cold water.
- Mixer Tap: Combines hot and cold water through a single spout, often with a ceramic cartridge.
- Ball or Disc Tap: Common in modern designs, using internal mechanisms to control water flow.
3. Dismantle the Tap
Use a screwdriver to remove the tap handle. If necessary, gently pry off decorative caps to access screws. Once the handle is removed, unscrew the tap’s headgear or cover to expose the internal components.
Tip: Take note of how each part is assembled to make reassembly easier.
4. Inspect and Replace Faulty Parts
- Washer: Check for cracks, flattening, or wear. Replace with a washer of the same size.
- O-Ring: Inspect the small ring in the tap handle for damage and replace if needed.
- Cartridge: For mixer taps, remove the cartridge and inspect it for wear or blockages. Replace if damaged.
Tip: Take the old part to a hardware store to ensure you buy an exact replacement.
5. Clean Components and Reassemble
While the tap is dismantled, clean any components with a soft cloth to remove dirt or limescale. Reassemble the tap in reverse order, ensuring all parts are secured tightly.
6. Turn the Water Supply Back On
Slowly turn the water supply back on and test the tap for leaks. If the problem persists, double-check that all components are fitted correctly.
Preventing Future Leaks
- Use Taps Gently: Avoid overtightening handles, which can wear out washers and O-rings prematurely.
- Regular Maintenance: Clean taps and check for signs of wear regularly to address issues early.
- Install a Water Softener: In hard water areas, a water softener can reduce limescale build-up and prolong the lifespan of tap components.
When to Call a Professional
If your tap continues to leak after repairs or you’re unsure about dismantling the mechanism, it’s best to contact a plumber. They can address more complex issues, such as damaged pipes or worn-out valve seats.
Stop the Drip and Save Money
Fixing a leaking tap is a straightforward task that can save water, reduce your bills, and prevent long-term damage to your plumbing system. By identifying the cause and following these simple steps, you can restore your tap to full functionality in no time. Take action today to stop that drip—and enjoy the peace of mind that comes with a job well done!