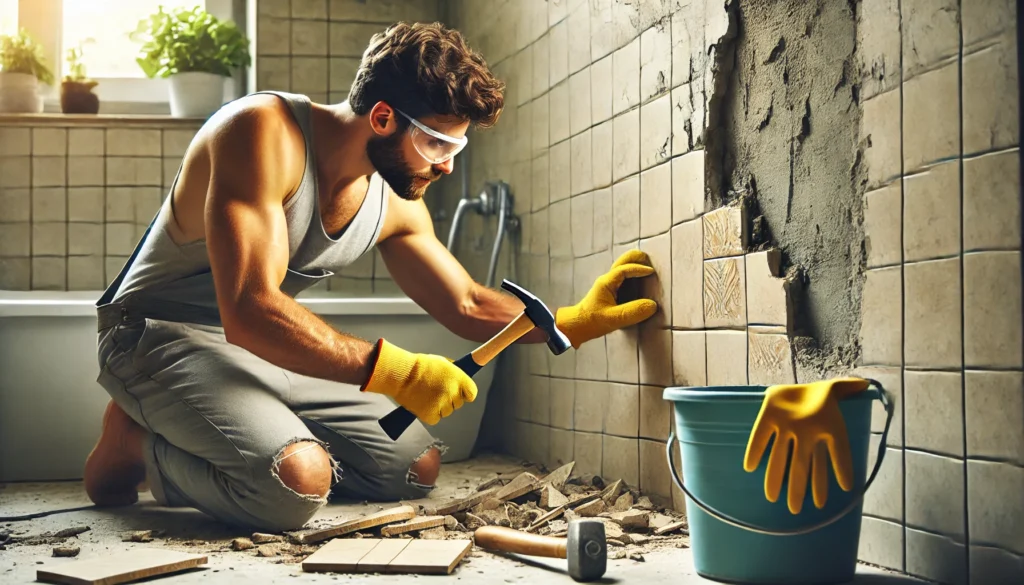
How to Safely Remove Old Tiles Without Damaging the Wall

Removing old tiles can be a daunting task, especially if you’re worried about damaging the wall underneath. Whether you’re updating your bathroom, kitchen, or any tiled surface, a careful approach ensures a clean and damage-free result. This guide will walk you through the process step-by-step, covering the tools you’ll need and tips for minimising wall damage.
Why Remove Old Tiles?
Old tiles may be outdated, cracked, or discoloured, making a space look worn out. Removing them allows you to refresh the area and prepare the surface for new tiles or a different finish.
Tools You’ll Need
- Safety goggles and gloves
- Dust mask
- Hammer
- Chisel or pry bar
- Utility knife
- Putty knife or scraper
- Plastic drop cloth or dust sheet
- Bucket or bag for debris
- Sponge and warm water
Step-by-Step Guide to Removing Old Tiles
1. Prepare the Area
Before you start, ensure the work area is safe and ready for tile removal.
- Cover nearby surfaces with a plastic drop cloth to protect them from debris.
- Remove any fittings, such as shelves, mirrors, or towel racks, near the tiled area.
- Turn off electricity if working around electrical outlets.
Tip: Work in small sections to control debris and minimise mess.
2. Soften the Grout
Grout holds the tiles in place, and softening it makes removal easier.
- Use a utility knife to score the grout lines.
- Apply warm water to the grout with a sponge to soften it. Let it sit for a few minutes.
- For stubborn grout, consider using a grout remover tool or a chemical grout softener.
3. Remove the First Tile
The first tile is often the hardest to remove. Start with a tile at the edge or corner of the tiled area.
- Place the chisel at a 45-degree angle under the edge of the tile.
- Gently tap the chisel with a hammer to loosen the tile.
- Work slowly to avoid applying too much pressure on the wall.
Tip: If the tile doesn’t budge, use the utility knife to further cut away the grout around it.
4. Continue Removing Tiles
Once the first tile is removed, the process becomes easier.
- Insert the chisel or pry bar under the edge of the next tile.
- Tap gently to loosen and lift the tile.
- Repeat until all tiles are removed.
Tip: Work methodically from one tile to the next to avoid excessive stress on the wall.
5. Clean the Adhesive Residue
After removing the tiles, adhesive or mortar may remain on the wall. Removing this residue is essential for a smooth surface.
- Use a putty knife or scraper to gently scrape away adhesive.
- For stubborn residue, dampen it with warm water to soften it before scraping.
- Sand the wall lightly if necessary to achieve a smooth finish.
Tip: Be cautious when scraping to avoid gouging the wall surface.
6. Repair Wall Damage (If Necessary)
Despite careful removal, some minor wall damage may occur.
- Fill any holes or cracks with a wall filler or spackle.
- Smooth the repaired area with sandpaper once it’s dry.
- Prime the surface if you plan to paint or retile.
Tips to Minimise Wall Damage
- Work Slowly: Avoid rushing, as applying too much force can damage the wall.
- Use the Right Tools: A thin chisel or pry bar is less likely to damage the wall than bulkier tools.
- Soften Adhesive Carefully: Over-scraping can harm the wall, so soften adhesive with warm water first.
- Test a Small Area First: Start with a small, inconspicuous section to refine your technique.
When to Call a Professional
If the tiles are attached to a delicate surface, like drywall, or you encounter extensive wall damage, it may be best to consult a professional. They have the tools and expertise to safely remove tiles without compromising the integrity of your walls.
Prepare for a Fresh Look
Removing old tiles is a satisfying step in any renovation project. By following these steps and using the right tools, you can safely remove tiles while preserving your wall’s condition. Whether you’re planning to retile, paint, or apply a new finish, a clean and damage-free wall provides the perfect starting point for your next project. Start your tile removal journey today and create a fresh, updated look for your space!