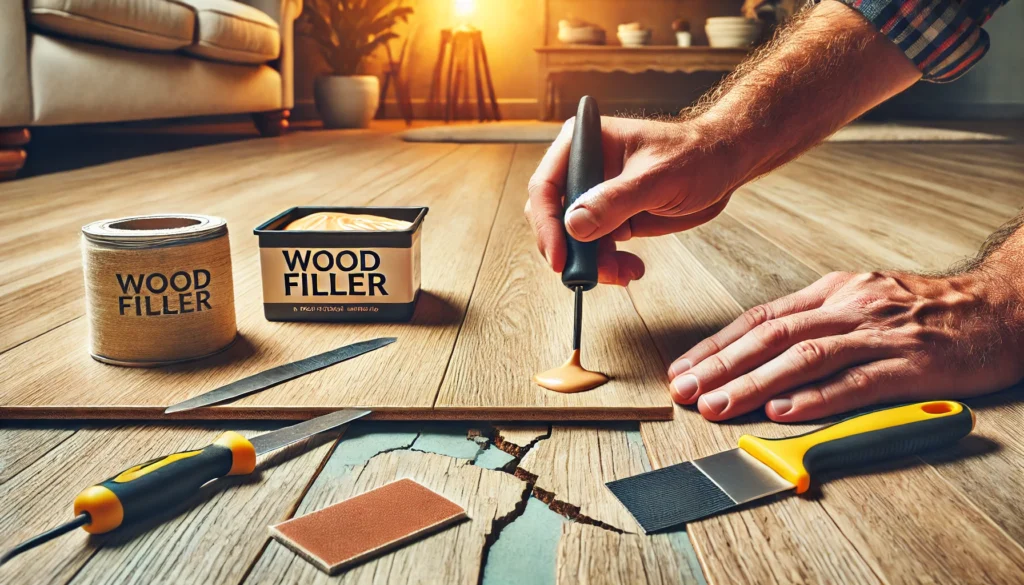
How to Spot and Repair Cracks in Laminate Flooring

Laminate flooring is a popular choice for its durability, affordability, and aesthetic appeal. However, cracks and damage can occur over time due to wear and tear, heavy furniture, or changes in humidity. Knowing how to identify and repair these issues can save you money and extend the life of your flooring. This guide will walk you through spotting and fixing cracks in laminate flooring effectively.
Common Causes of Cracks in Laminate Flooring
Understanding why cracks develop can help you prevent future damage:
- Temperature and Humidity Changes: Expansion and contraction from fluctuations can stress the material.
- Heavy Furniture: Dropping heavy items or dragging furniture can create cracks or dents.
- Improper Installation: Gaps between planks or uneven subfloors can lead to weak spots.
How to Spot Cracks in Laminate Flooring
Cracks in laminate flooring may not always be immediately visible. Here’s how to identify them:
- Visual Inspection: Look closely at the surface for visible cracks, splits, or gaps between planks.
- Touch Test: Run your hand along the surface to feel for uneven edges or splits.
- Check for Movement: Step on different areas to identify loose or unstable planks, which may indicate underlying cracks.
Tip: Inspect your flooring regularly, especially in high-traffic areas, to catch small issues before they worsen.
Tools and Materials You’ll Need for Repairs
- Laminate repair kit (includes wax sticks, putty, or filler).
- Plastic putty knife.
- Fine-grit sandpaper.
- Cleaning cloths.
- Replacement planks (if necessary).
Step-by-Step Repair Guide
1. Clean the Damaged Area
Before making any repairs, clean the cracked area thoroughly to remove dirt and debris. Use a damp cloth and let the area dry completely.
Time Required: 5 minutes.
2. Assess the Damage
Determine whether the crack is superficial or deep. Superficial cracks can often be repaired with a laminate filler, while deeper cracks may require plank replacement.
Time Required: 2–3 minutes.
3. Use a Laminate Repair Kit
For minor cracks, apply laminate filler or wax from a repair kit:
- Choose a filler colour that matches your flooring.
- Use a putty knife to spread the filler evenly into the crack.
- Remove excess filler with a cloth and allow it to dry as per the manufacturer’s instructions.
Time Required: 10–15 minutes.
4. Sand and Polish the Repaired Area
Once the filler is dry, lightly sand the area with fine-grit sandpaper to create a smooth finish. Clean away any dust and polish the surface to restore its shine.
Time Required: 5 minutes.
5. Replace Damaged Planks (if Necessary)
For extensive damage, replacing the affected plank is often the best solution:
- Carefully remove the damaged plank using a saw or plank remover tool.
- Slide the replacement plank into position and secure it according to your flooring’s installation method (click-lock or adhesive).
Time Required: 30–45 minutes.
Preventing Future Damage
- Use Furniture Pads: Protect your floor from heavy furniture by adding felt pads to the legs.
- Maintain Stable Humidity Levels: Use a humidifier or dehumidifier to prevent warping and cracking.
- Avoid Excessive Water: Laminate flooring is not waterproof, so clean spills immediately to prevent damage.
- Place Rugs in High-Traffic Areas: Reduce wear and tear by using rugs or mats in busy spaces.
Keep Your Laminate Flooring Looking Great
Spotting and repairing cracks in laminate flooring doesn’t have to be a daunting task. With the right tools and techniques, you can restore your flooring’s appearance and functionality in no time. Regular maintenance and preventative care can help keep your laminate looking its best for years to come. By addressing damage early and taking proactive measures, you’ll save money and enjoy a flawless floor that enhances your home.